

We have just made it through one of the busiest times of the year – end of year parties, Christmas, New Year’s Eve… but Summer kicks on in Australia for a bit longer! And with Summer comes with many opportunities for socialising and enjoying the brighter days! Grazing platters are a great way to feed a large group of people or for an intimate dinner party with your closest friends.
Grazing platters have been taking over the hospitality industry and I can see why! The visual impact of a colourful buffet of delicious food intertwined with the option to pick and choose what you like – I can’t think of a better way to feed a group who may have diverse food preferences!
My beautiful friend, Libby, and I have had the delight of arranging grazing tables for a few special occasions and events. Through these experiences, we have refined our skill in creating maximum impact, on a clear budget with plenty of delicious treats for all the guests.
Here are the tips to creating a grazing platter of your very own!
THE PLATTER
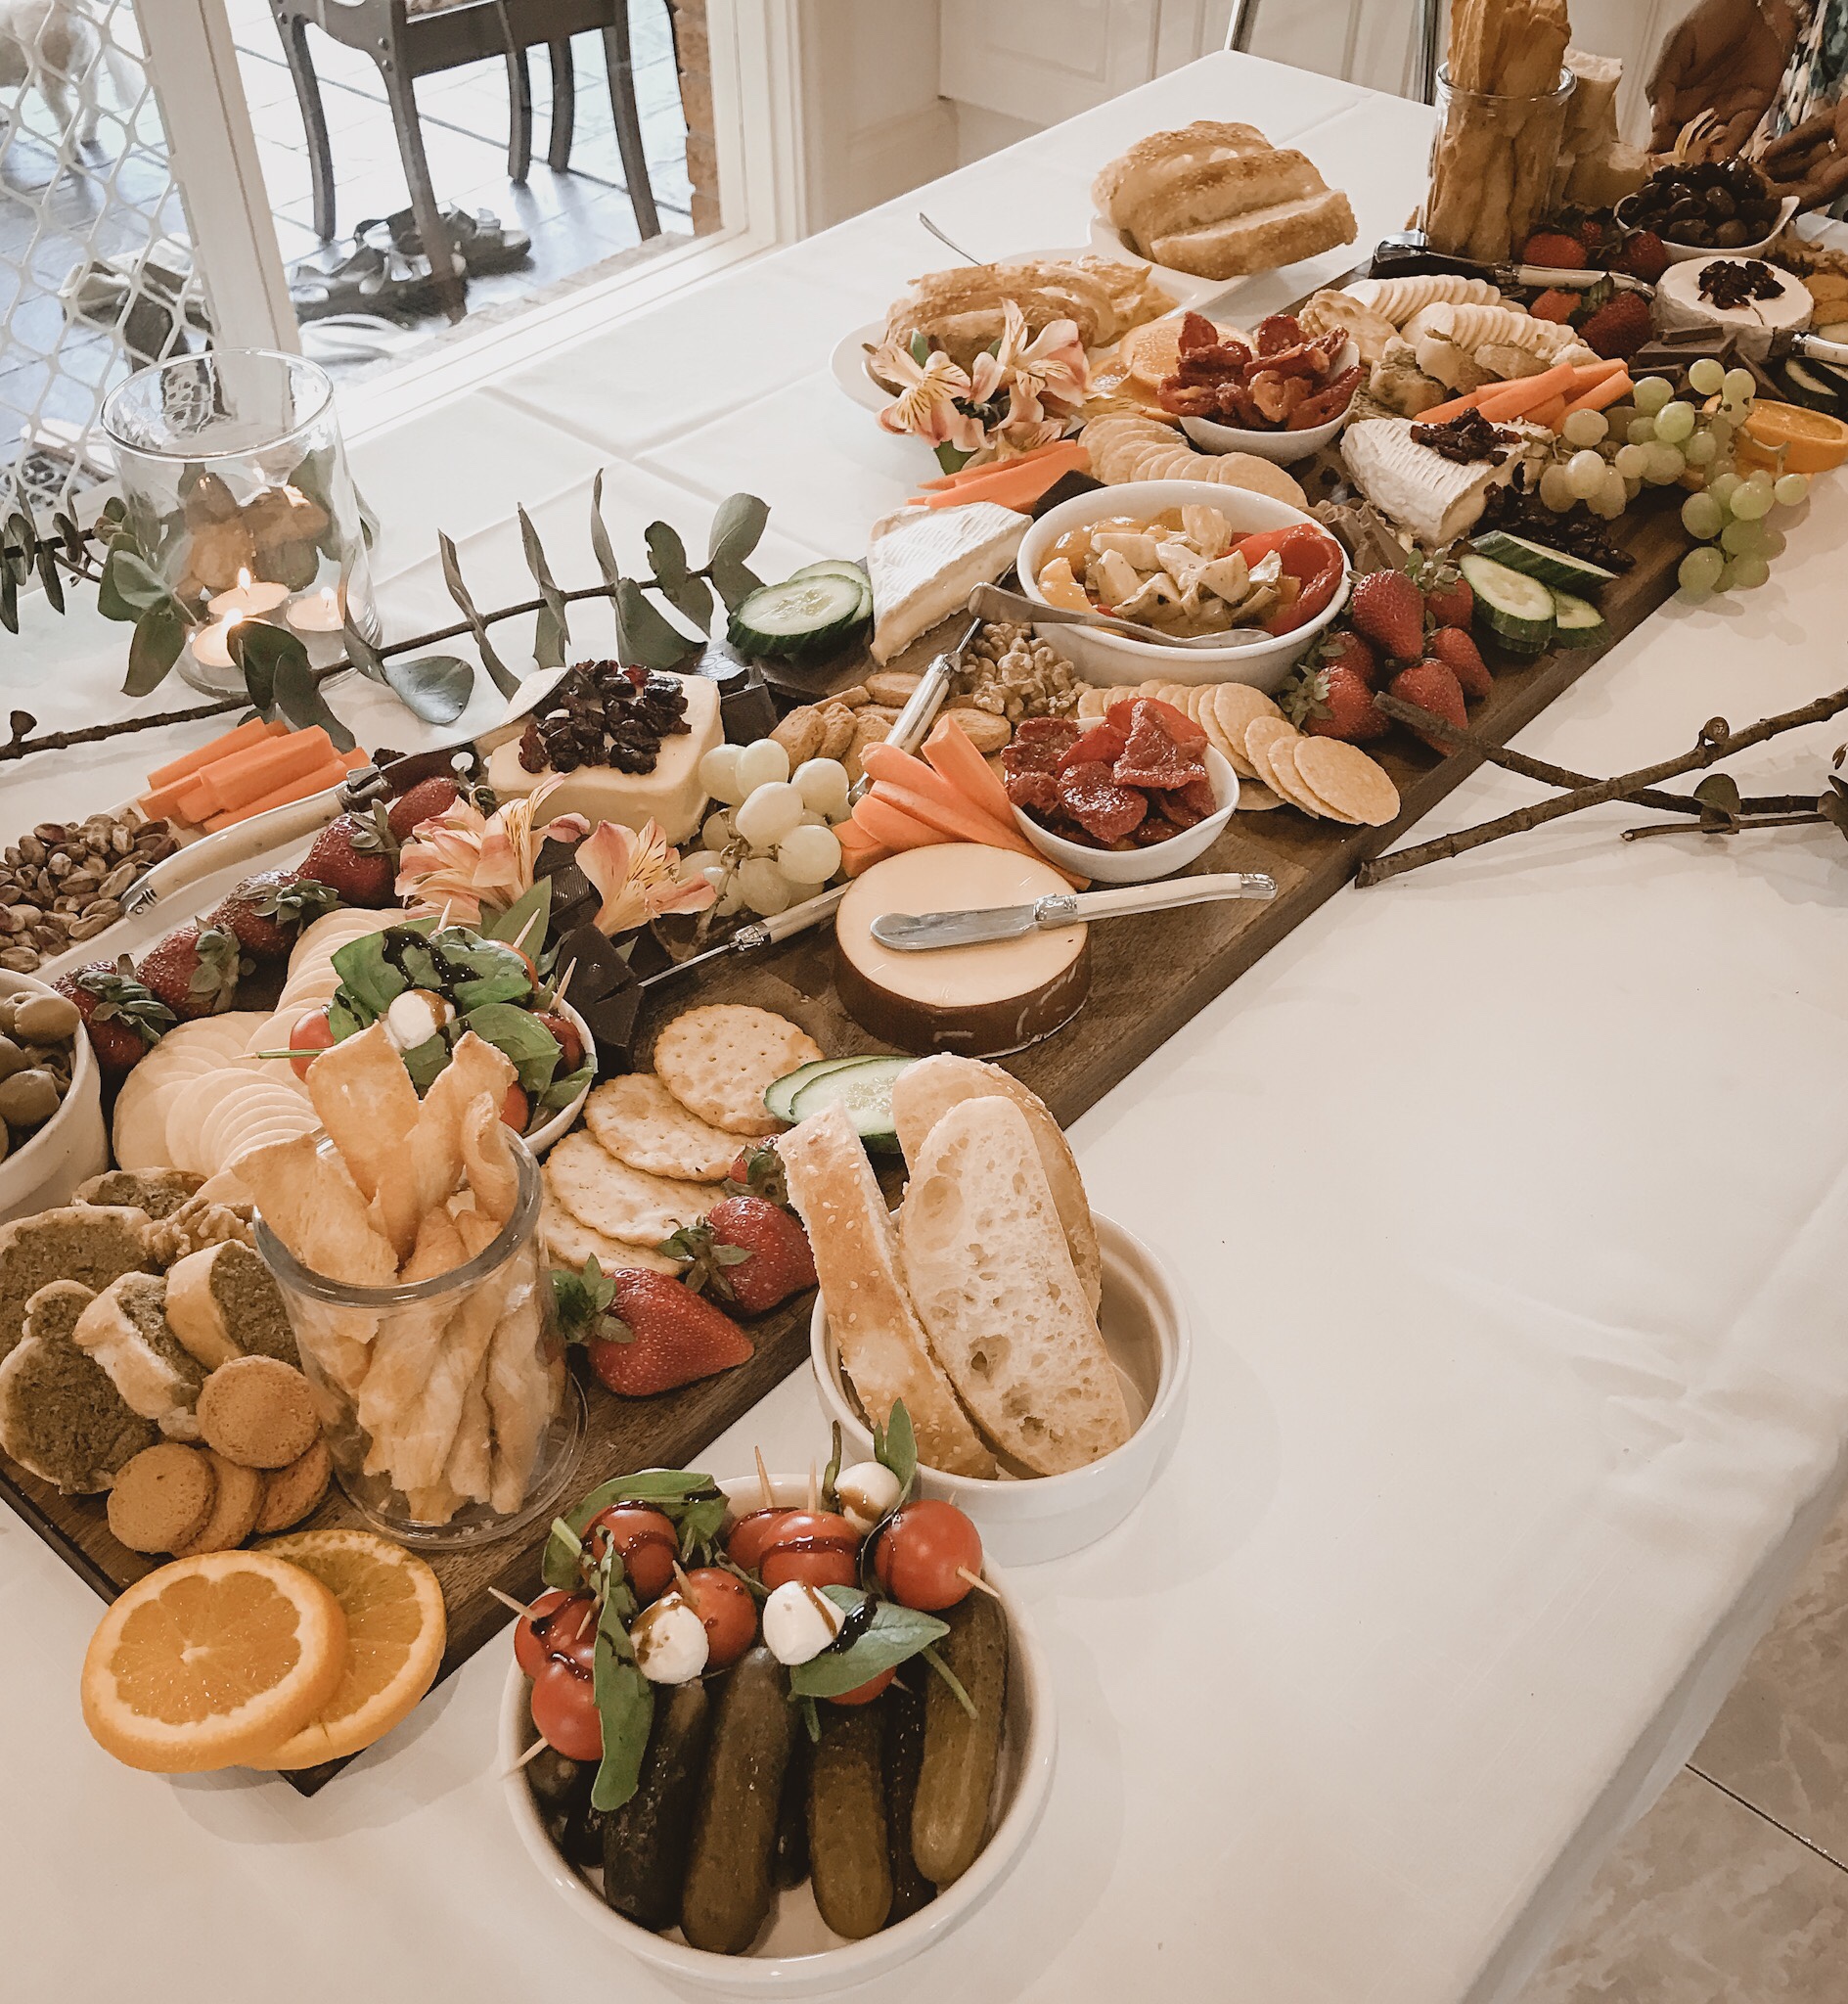
We have used different serving ware to showcase our grazing platters. My absolute favourite is a 1 meter long timber board which has been oiled and seasoned to hold an array of delights. Alternatively, there are options around the kitchen which can be used. For example, wooden chopping boards, glass platters, baskets, wooden boxes, ceramic plates, cake stands or even a large table covered with a table cloth. Using a few different options can make the food area interesting and unique.
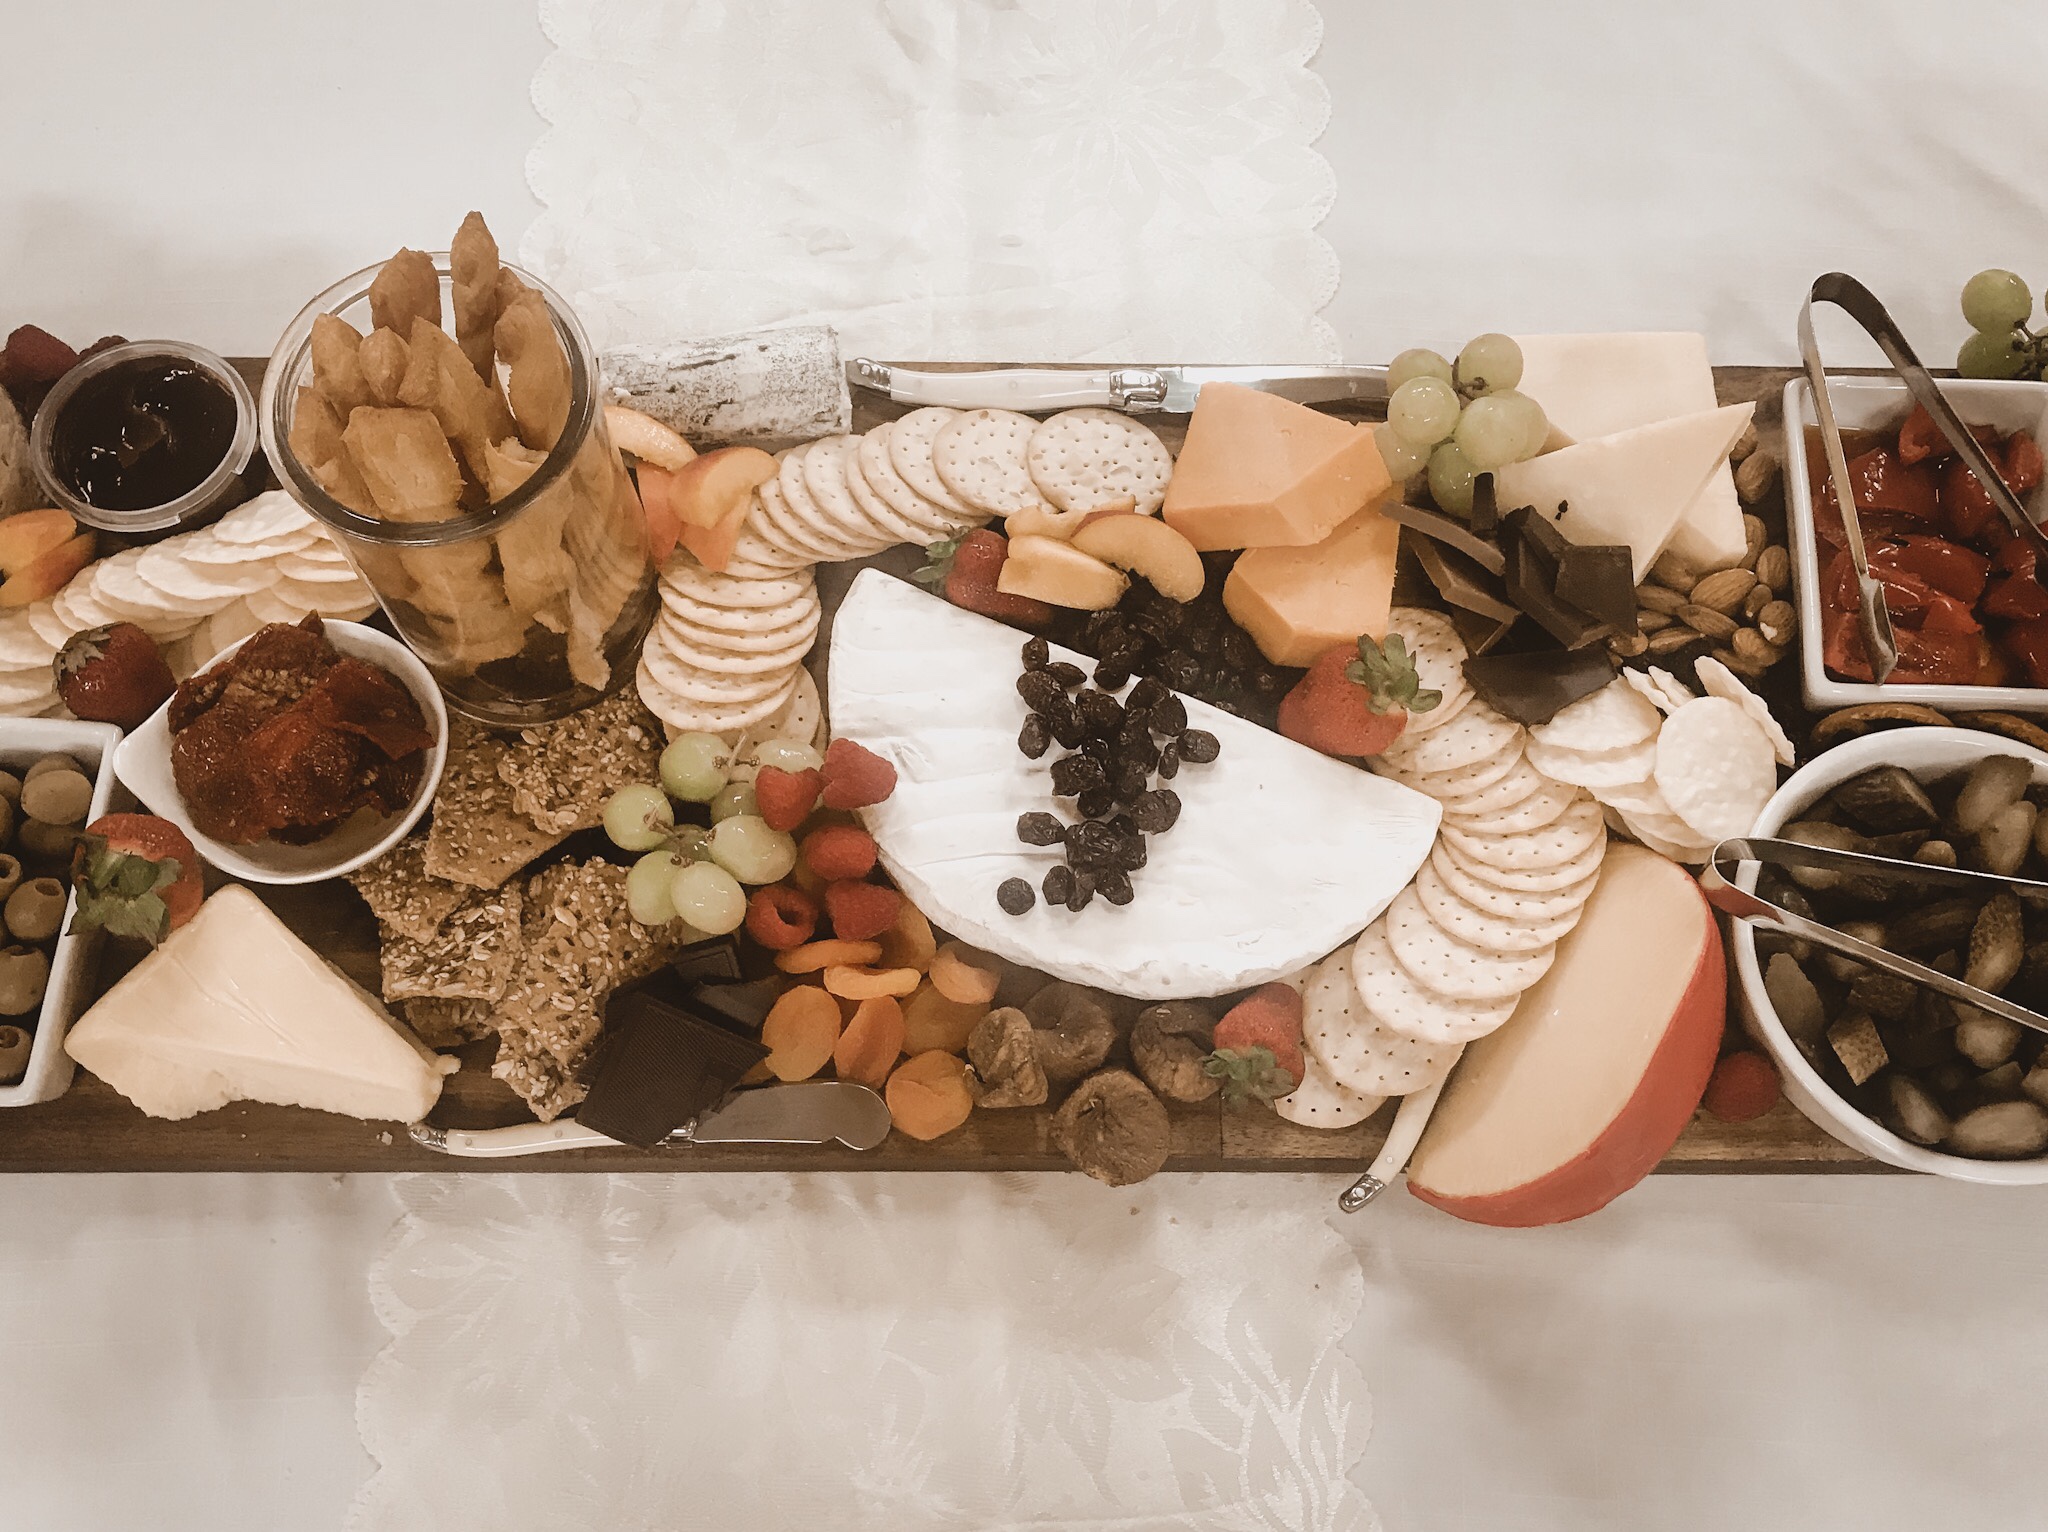
COLOUR
You want to make your guests feel like they are at a royal banquet! Maximum visual impact will be achieved with the mixture of cascading colours from fresh seasonal fruit, crunchy vegetables, antipasto, bread, cheeses, small goods, dips and dippers. Choose items which are of varying colours because you ‘eat with your eyes!’
HEIGHT
Varying heights help with the visual appearance of the platter. Using similar coloured jars, glasses, dishes, little bowls and serving ware can help with a cohesive finish. If you are going for a more eclectic look, using an assortment of ceramics or glass ware can turn your classy platter into a bohemian feast. Arrange these serving dishes on the platter before putting out your food so you can vary the heights and design of your platter.
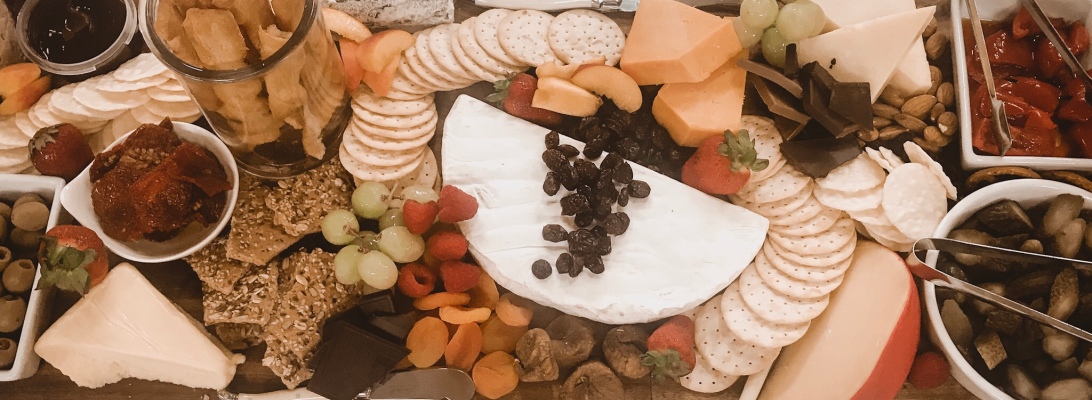
TEXTURE
This is one of my favourite parts of constructing an eye catching platter! Using a variety of textures from the glistening olives, to crunchy bread sticks, the oozy soft cheeses to the grainy crackers and always, always, some decadent dark chocolate snapped and scattered throughout the gaps on the board. Ensure you have a blend of different textures to encourage people to dig in and not get “taste fatigue”.
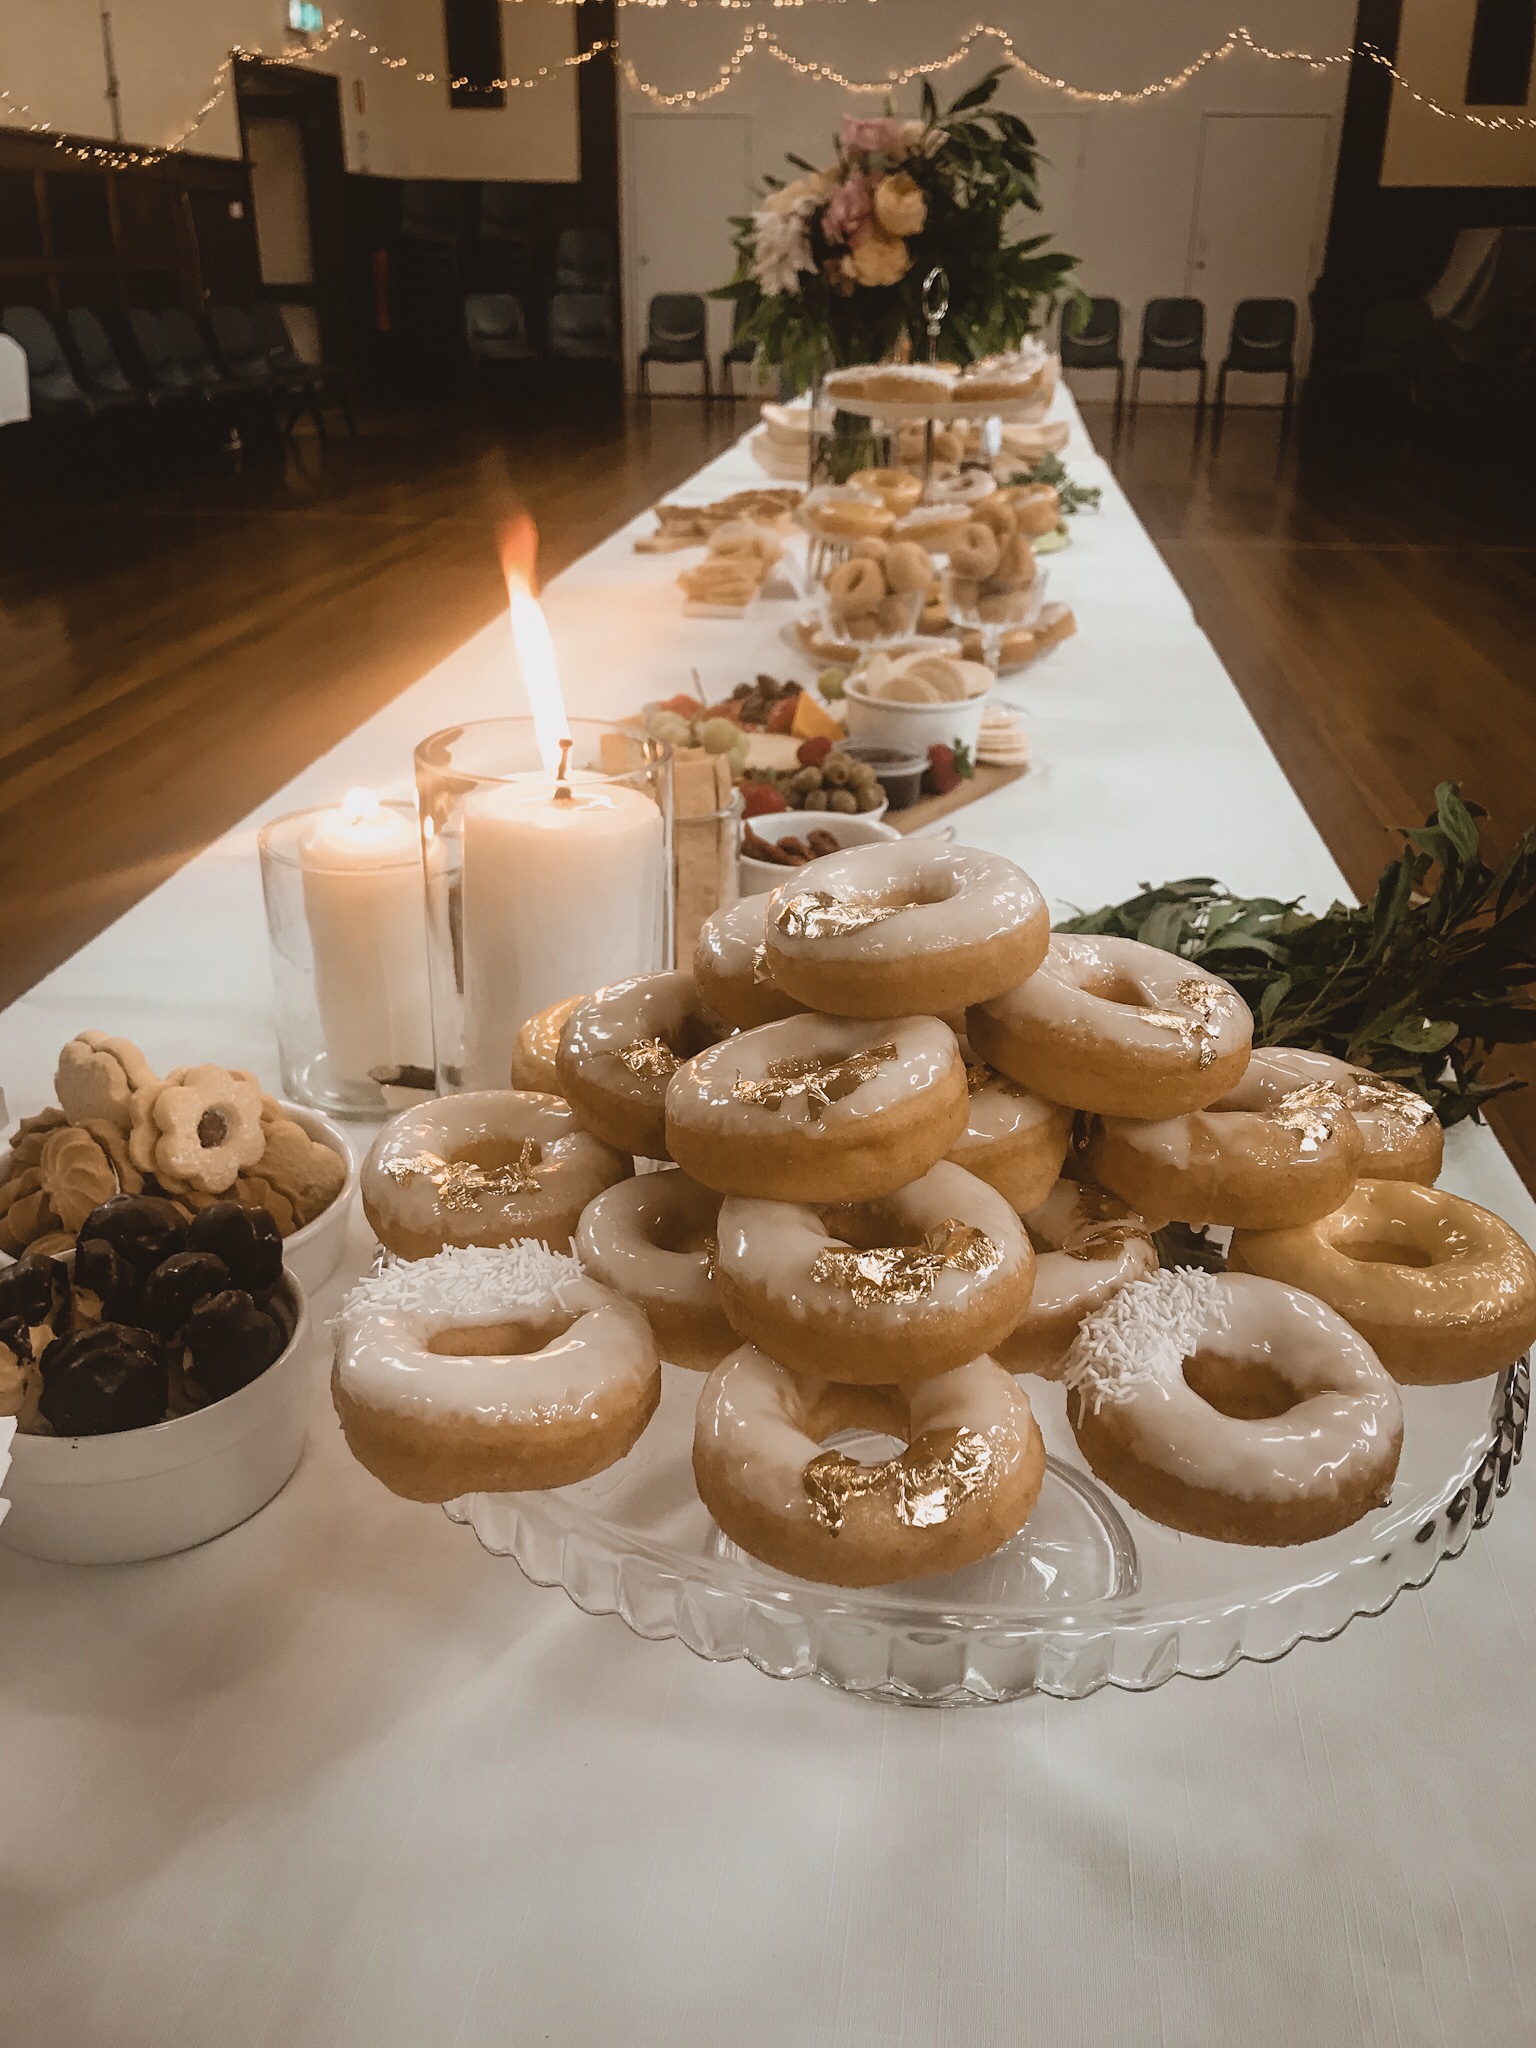
AMBIANCE
Setting the mood for your event is everything. You want your guests to feel free and comfortable to attack the grazing platter! But in a polite way of course…! Providing bowls or plates near the platter to encourage people to load up their plates and then move on is helpful. This allows others to come forward to investigate the hard work you have gone to constructing a platter. Using foliage, flowers and candles around the platter can elevate the ambiance of the event and provide a stylish setting for your guests.
EATABILITY
Make sure all the beautiful items on the platter are easy to pick up and eat with minimal intervention! Pre spreading pieces of crusty bread with dips and spreads can help minimise mess and time spent hovering around the platter. Providing cheese knives, dip and fruit paste spreaders close by to their items makes a pleasant experience for the guests.
FILLER
So we gotta be real. We have budgets to meet and you want your guests to feel full after enjoying the platter. Filler items are a necessity to help ensure that there’s something to soak up the cocktails and to dip into all the luscious condiments you have prepared. Great fillers include nuts, dried fruits, breads, biscuits and crackers.

CONSTRUCTION
So this is where you can get creative! And even if you aren’t too confident with visual arts or cooking, you will be able to create an incredible platter following these easy steps.
- Choose your base for the grazing platter.
- Lay out the serving ware along the platter. A symetrical distribution can make things easier.
- Fill each of these dishes with an assortment of colourful items. Using tall jars for grissini or lavosh sticks and small dishes for antipasto.
- Place the feature cheeses along the board. Keep them apart so that there’s plenty of space around them to decorate with other items.
- Use biscuits to curve around the cheeses, fanning out in semi circles.
- Use dried fruit to scatter over the cheeses in a cascading line.
- Roll up shaved small goods and layer in small sections or beside little dishes.
- Scatter the rest of your dry items, dried fruits, nuts and keep fresh fruits last to distribute the colour evenly. Try to place colourful items throughout the more neutral areas to make the platter appetising.
- Break up any chocolate you have into rustic pieces and wedge in small groups around the platter.
- Stand back and admire your work! Check if there are any gaps or areas which need more vibrancy and add what you need to. There’s no right or wrong!
- Lay out the candles at either end and foliage on the edges of the platters.
- Enjoy your grazing experience!
A few textures and varying flavours you can add to your platter shopping list
- Creamy/Oozy/Matte – soft cheeses, hard cheeses, goats cheeses, dips, hummus (see my homemade hummus recipe here: https://natashawilton.com/2019/01/12/recipe-homemade-hummus-crispy-pita-chips/
- Grainy/Crunchy/Hard – rice crackers, plain crackers, ancient grain biscuits, water crackers, flavoured biscuits, lavosh bread, bread sticks, bread, grissini sticks, nuts, seeds, raw vegetables including carrots, celery, cucumber, cherry tomatoes
- Fresh – seasonal fruit cut into easy to eat portions (seasonal fruit is budget friendly), crunchy vegetables
- Zesty/Acidic – citrus fruits cut into rounds, dill pickles cut into chunks, sundried tomatoes, antipasto – olives, capsicums, eggplant, artichokes
- Flavoursome/Spiced – small goods such as salami, proscuitto, smoked hams and thinly shaved cured meats
- Sweet/Lush/Decadent – dark chocolate, dried fruits including cranberries, apple, apricots, fruit pastes, freeze dried fruits such as strawberries or raspberries for a pop of colour.

The fun part is investigating all the hidden treasures throughout the platter!


